

DIY Moulding Tutorial
- Lee Varhola Home

- Jul 29, 2022
- 4 min read
I fell in love with the box moulding that we had in our old house and when we moved, I was certain that I wanted to add it to multiple rooms. The problem was I had no idea how to do it, and sure, I could hire someone or have my handy dad help me out, but I was determined to figure out how to do it on my own.


A few people along the way have messaged me asking if I had a tutorial on this DIY skill that I have been posting all over my page. The short answer was no because I still felt like I was learning how to master the skill and had some learning to do. Do you know the old saying “Watch one, do one, teach one”? For the first project (our primary bedroom) I watched my dad show me how to measure and cut perfect 45-degree angles and then finished the room on my own. That was a big project to undertake on my own, but I got through it, it was by no means perfect, but I did it! My parlor project was technically my second project and I completed that one completely solo. I felt much more confident with the measurements, the tools, and the method.
My third time around, I feel confident that I can at least give advice on how to get started with a DIY moulding project and the tips that I have learned along the way. I will break down the basics of how to get started on the project and the tips that I have learned, however, my best advice is to learn from multiple people. Instagram DIY-ers have a wealth of knowledge as a whole and I have learned so much collectively!
Let’s get started!
The first step is to figure out where you want the boxes and how big. There is really no rule to the placement of the boxes or how many are on a wall. Whatever feels best to you is the right answer! Use a consistent measurement all the way around. If you are going to have 2 inches between each box then keep it 2 inches between the ceiling, walls, and other boxes.

Use a level and draw the boxes on the walls. Make sure your lines are level because they are the best resources to use for measuring and getting the moulding on the wall later. This is also a great time to step back and decide if you like the spacing of everything.
Once you love the lines that you have drawn on the wall, it is time to measure and cut. Carefully measure from one line to another in both directions. For example, if you have a 40x20 box, you will have two 40” cuts and two 20” cuts. If you have three boxes all the same size on one wall, then those are the measurements for all of them.
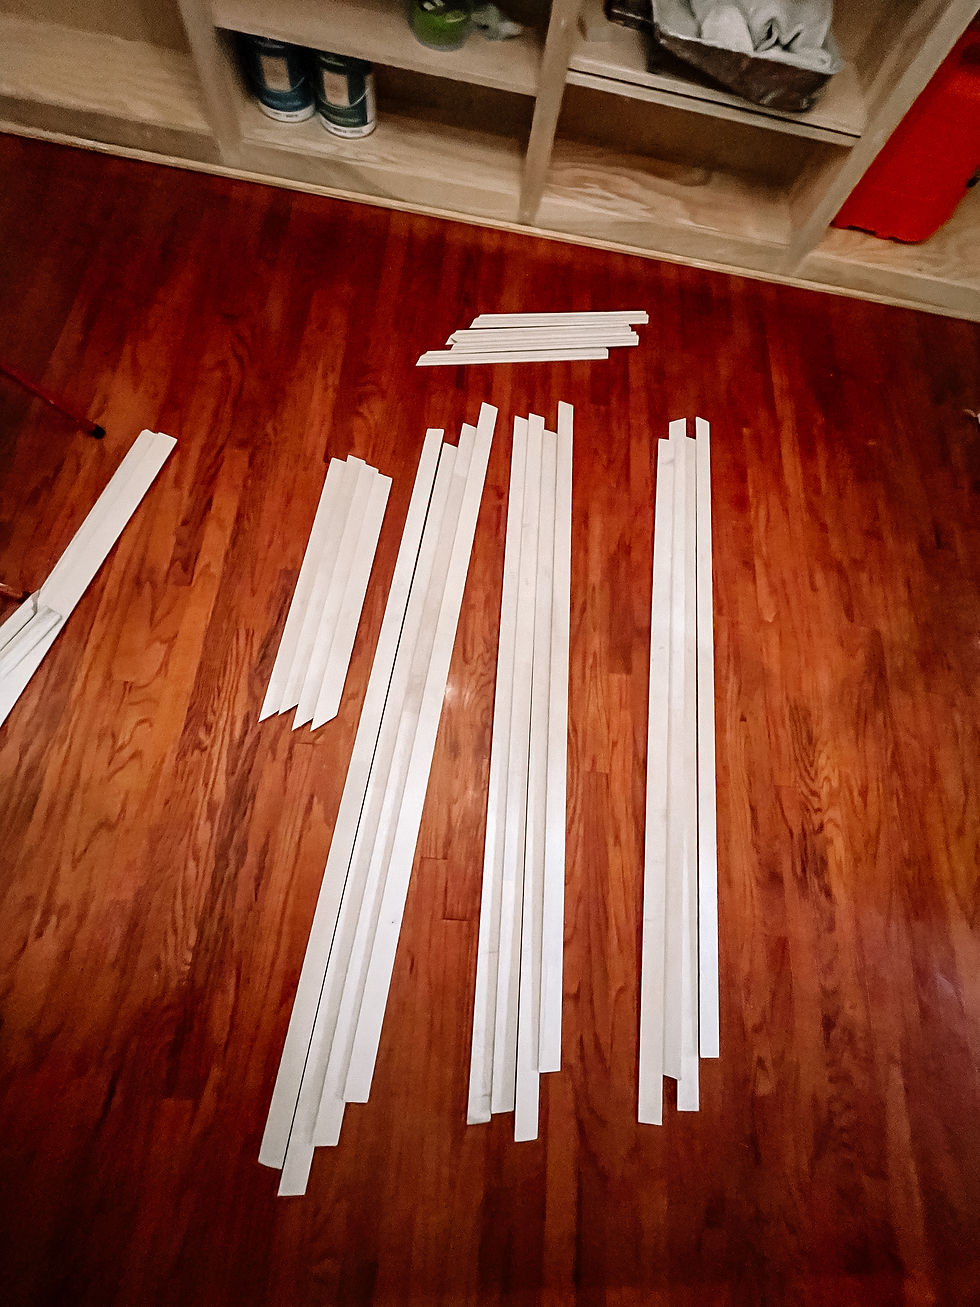
When you are ready to cut, start with your longest pieces and do all of them. This should make for the most efficient use of your material (going from largest to smallest). I like to lay out all of my material and count it all out before I start. This usually saves me a trip to the store in the middle of the project.


All of your cuts will be 45 degrees on your miter saw. Make sure to determine which side of the moulding is the “inside” and which is the “outside”. Each piece of moulding will have a 45-degree cut in opposite directions. I like to use the first measured cut as my template for the rest of the cuts. When I am done with my second cut, I compare the two pieces to make sure they are exactly the same size. This will ensure the tightest joints.
When all of the cuts are complete, It is time to put them on the wall. I will explain my method here. I am sure you can find many other methods online, but this is what I have found to work best for me! Start at the top, then the sides, then the bottom. I use my angled nailing gun, get the piece lined up on the line that I drew and use my level to ensure that I am perfectly level from the start. I then move on to the sides and watch that my two angled cuts bud up together nicely. It is not the end of the world if they are not perfect.


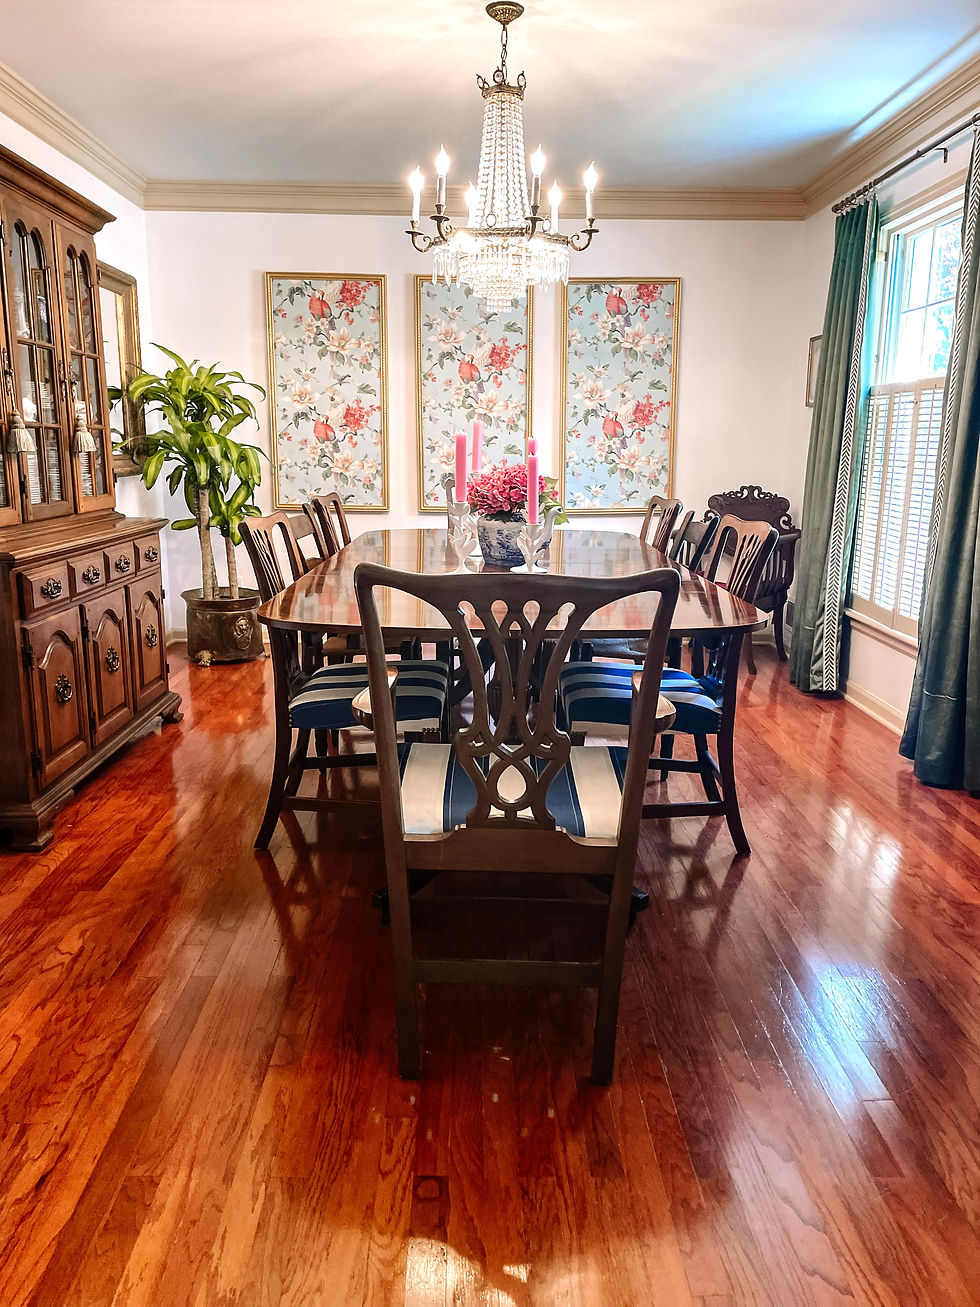
When all of the moulding is on the wall, you can really see your vision come to life and it's so great! BUT we are not done. It is truly the finishing work that makes this project look so great. Use wood filler to fill all of the nail holes and corners. As soon as you can after, sand the excess wood filler off. I have learned the hard way that leaving the extra wood filler on for too long makes for a lot more sanding later.
Next, we caulk! This is the final step before painting & it makes such a difference. Use the tiniest bit of caulk and caulk all of the edges using a caulking gun and wipe the extra away with a paper towel or a baby wipe. Let that dry completely before painting.


I hope that you find this helpful! I encourage you to just try! You might surprise yourself!
Happy DIY-ing!
XXX


je trouve cela vraiment très beau - félicitations à vous, vous avez du goût et le résultat est superbe, digne d'un décor de chateau